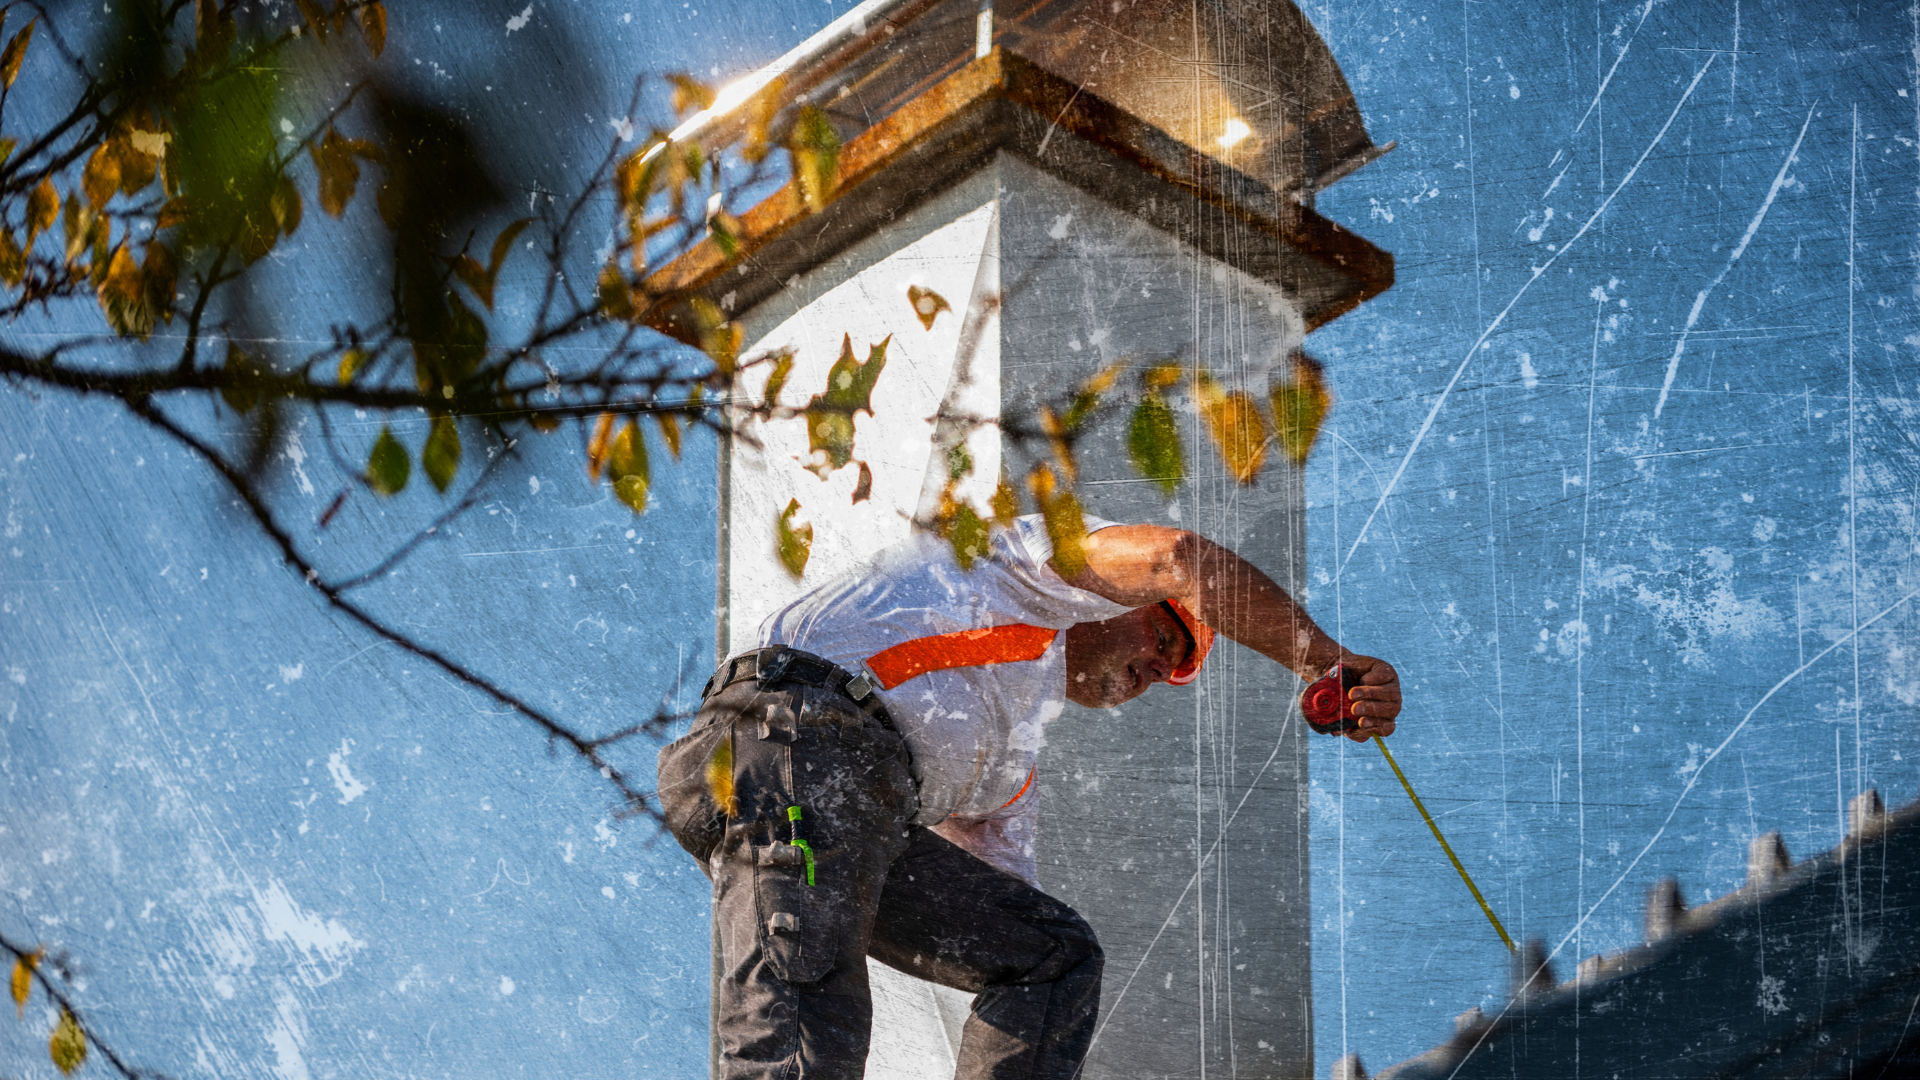
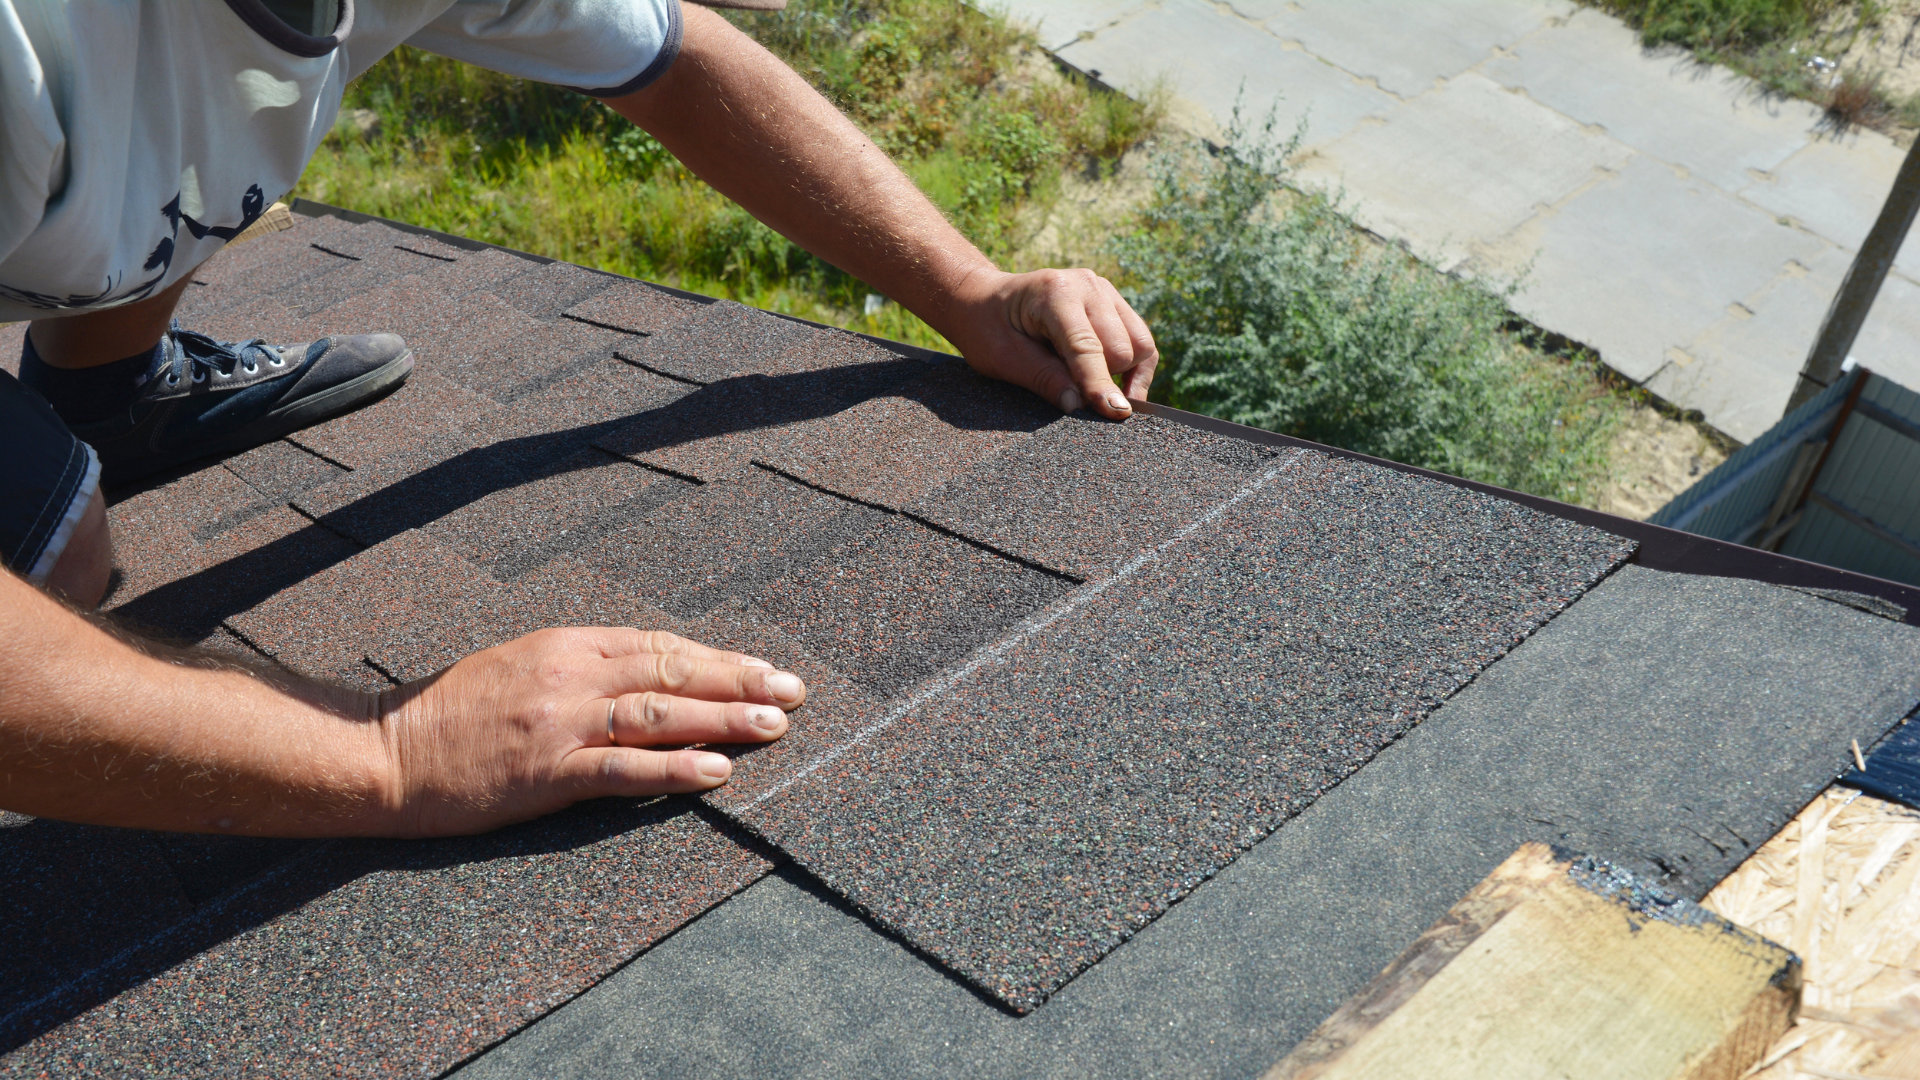
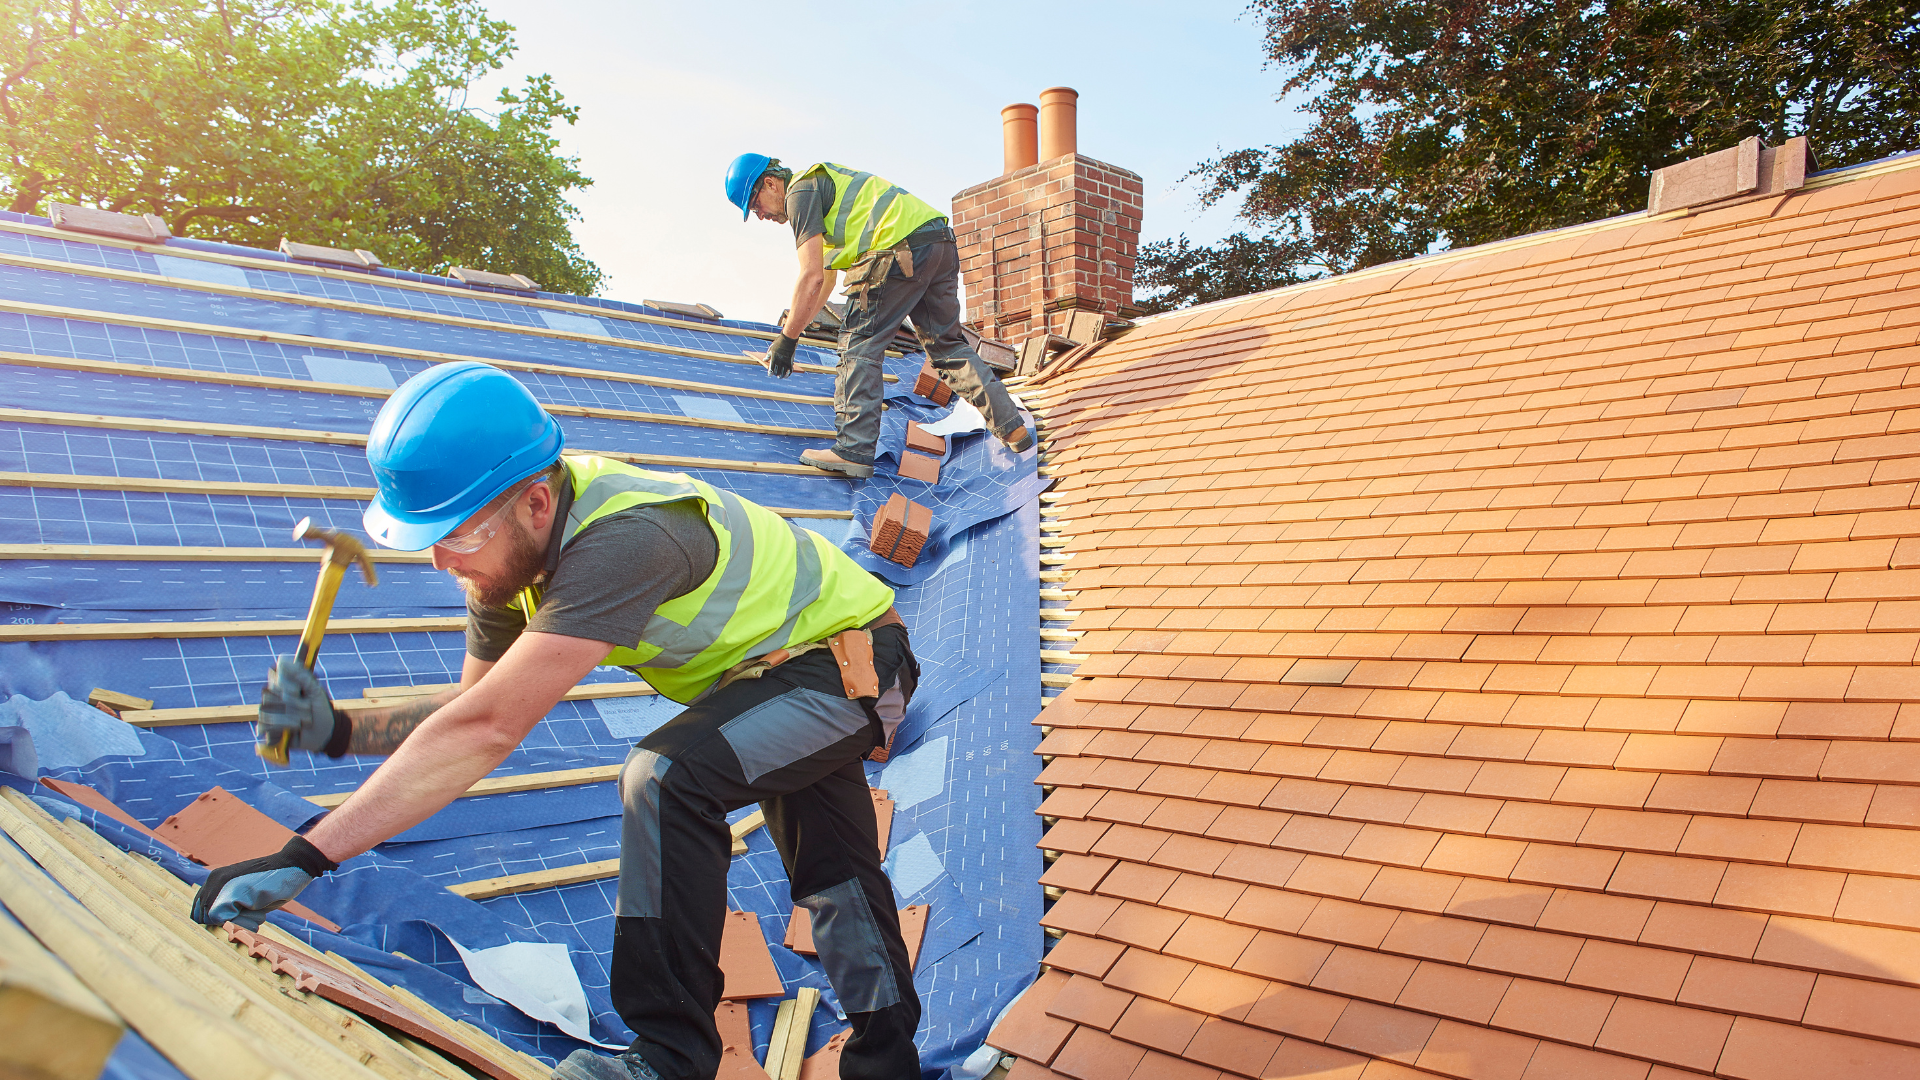
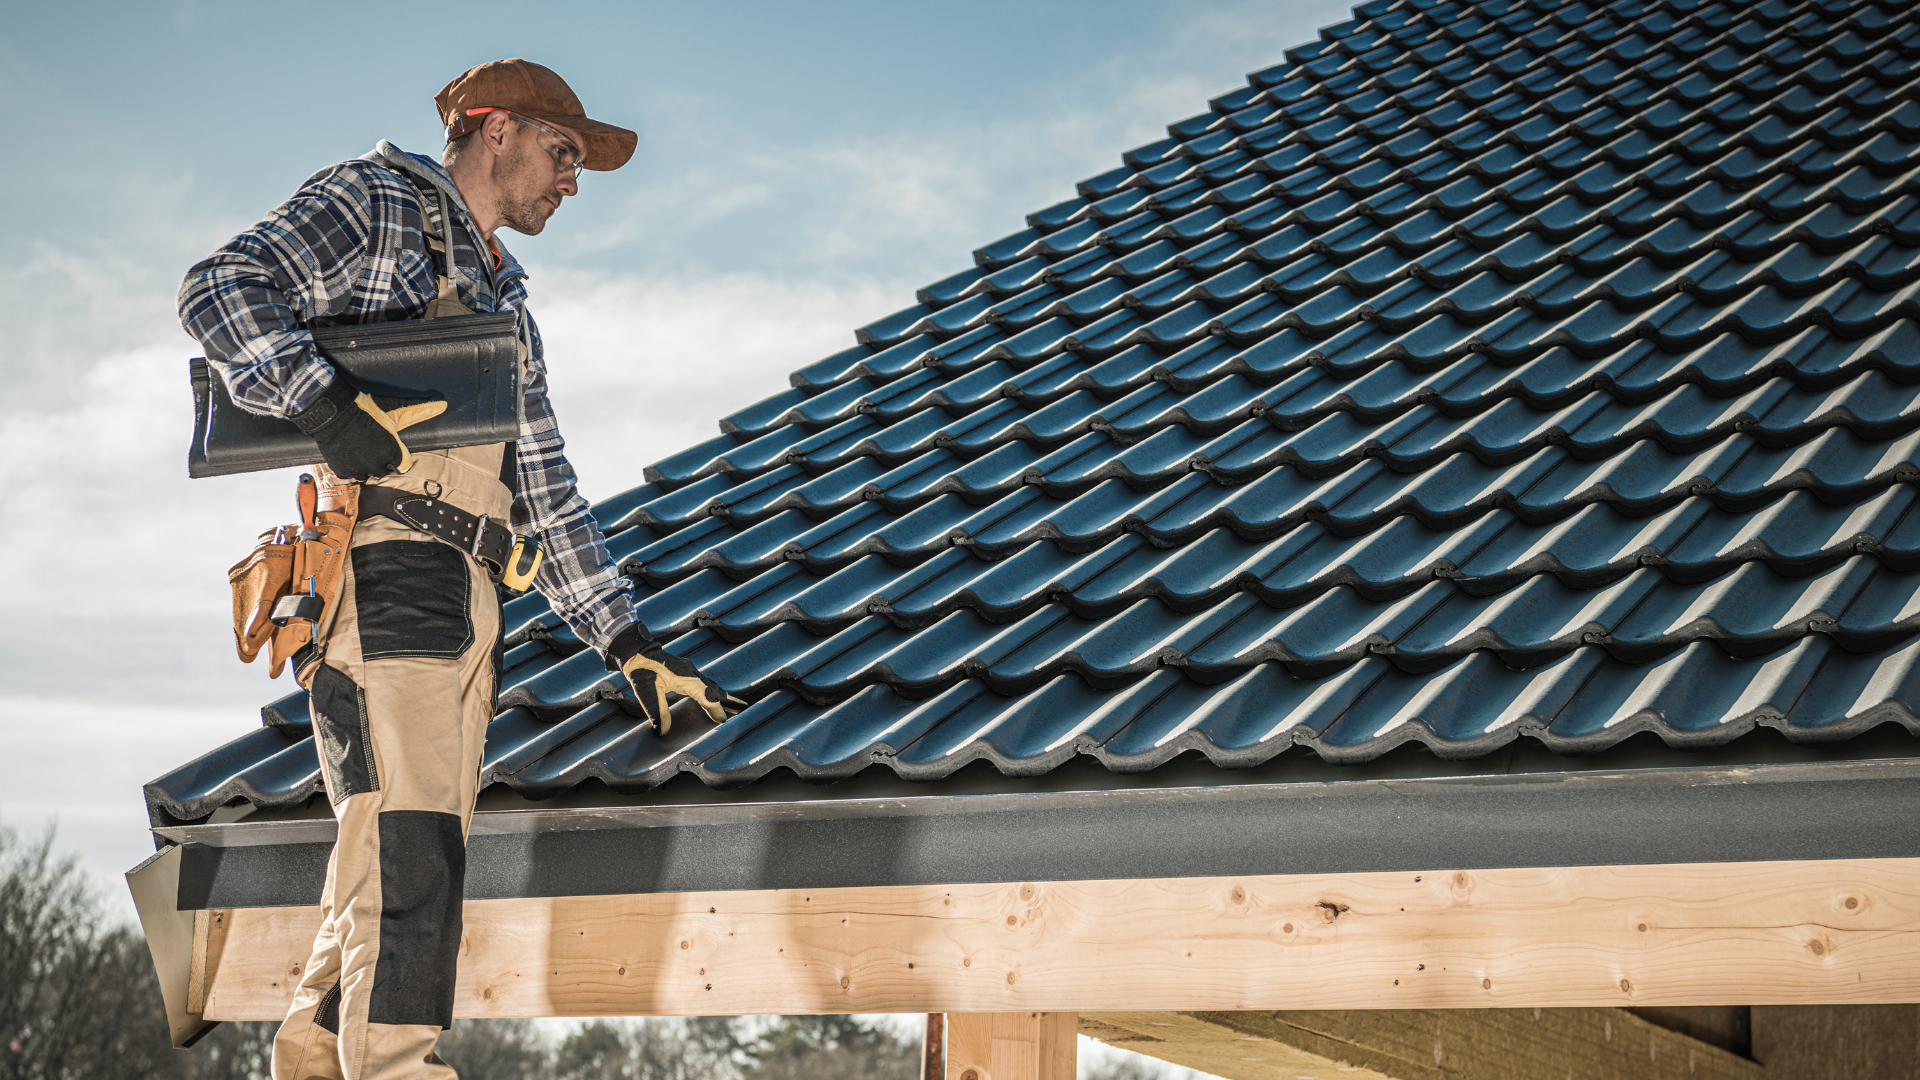
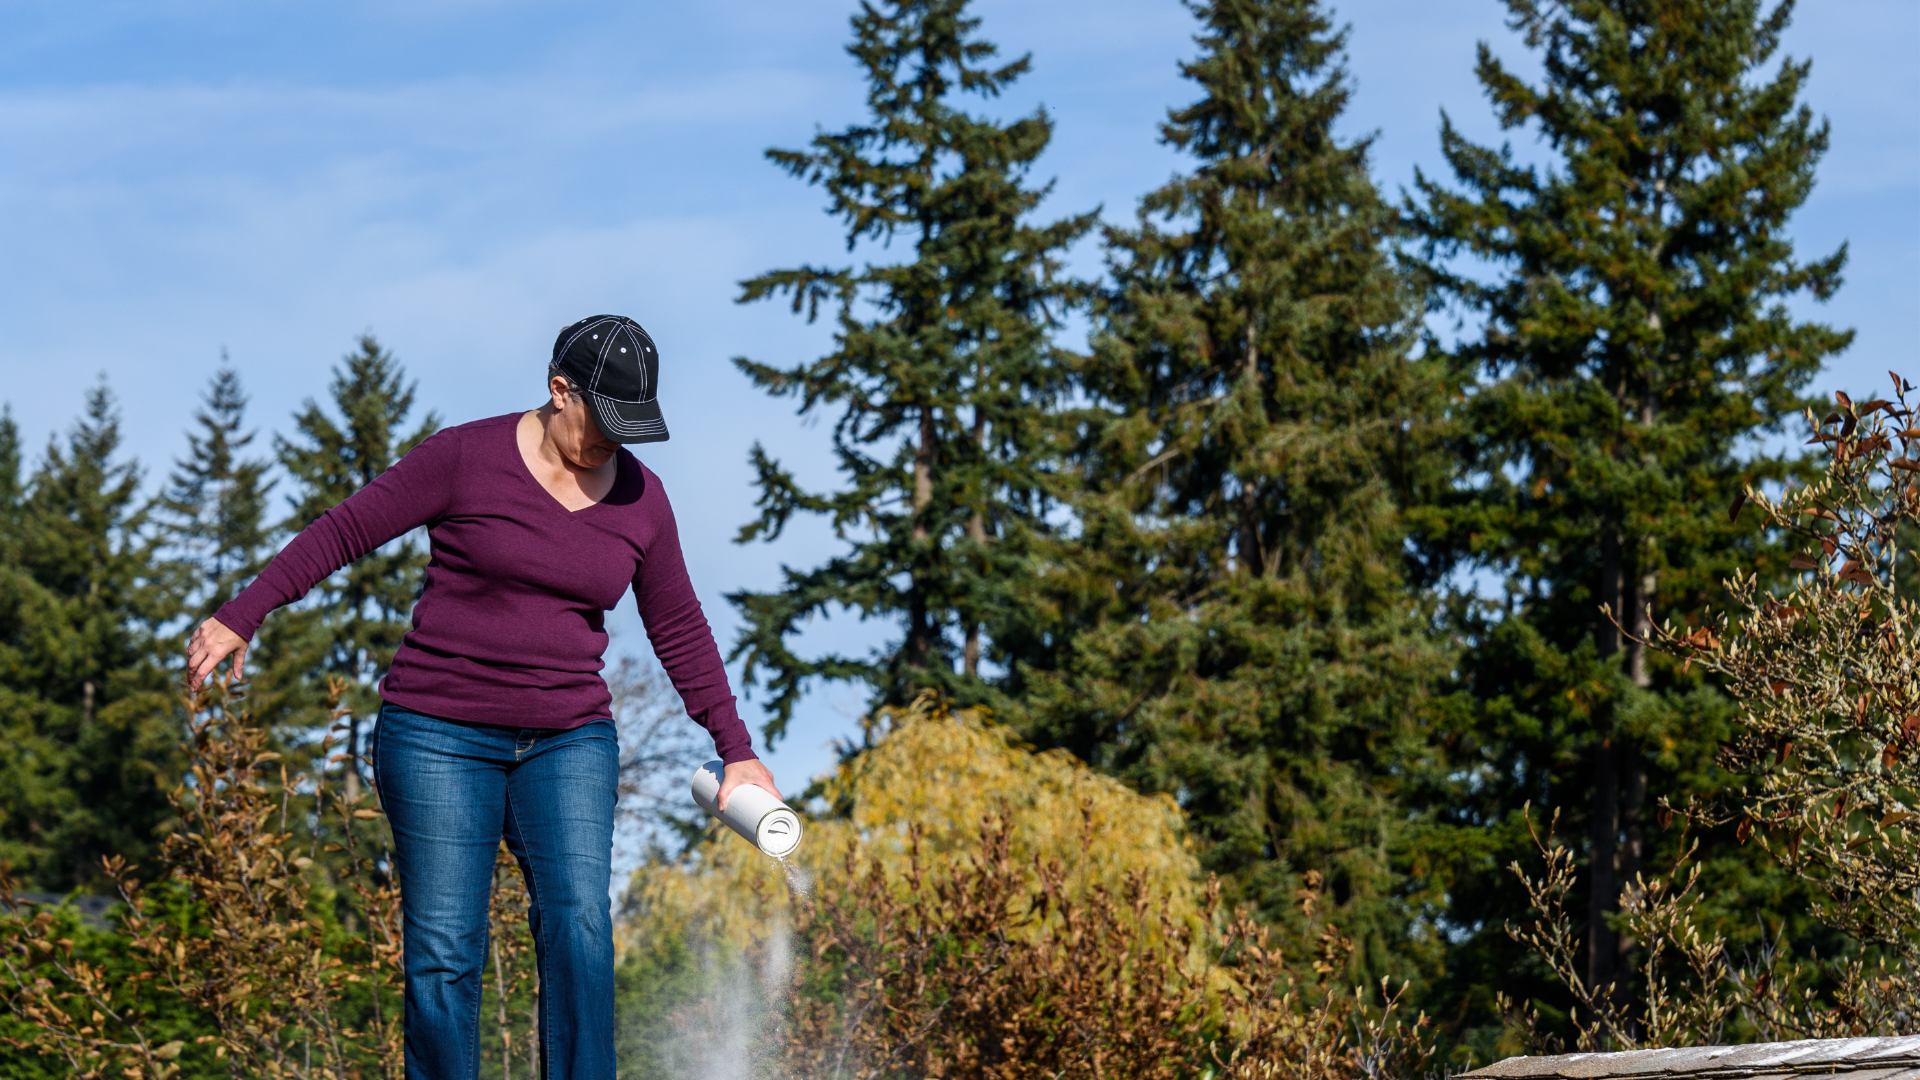
When it comes to working at heights, safety is paramount. High above the ground, where every step carries potential risks, the importance of roof harnesses cannot be overstated.
In this comprehensive guide, we dive into the world of roof harnesses, unlocking their potential to protect workers and prevent accidents.
From understanding their components and types to selecting the right fit and maintaining them for optimal performance, we delve into every aspect. Get ready to harness the power of safety and embark on a journey that will revolutionize how you approach rooftop projects.
Short Summary
- Roof harnesses are essential safety systems designed to protect workers from falls and ensure compliance with safety regulations.
- Selecting the right roof harness involves assessing job requirements, considering fit and adjustability, and checking for additional safety features and certifications.
- Proper use and maintenance of roof harnesses require training workers, regular inspections, and knowing when to retire and replace old or damaged harnesses.
Understanding Roof Harnesses
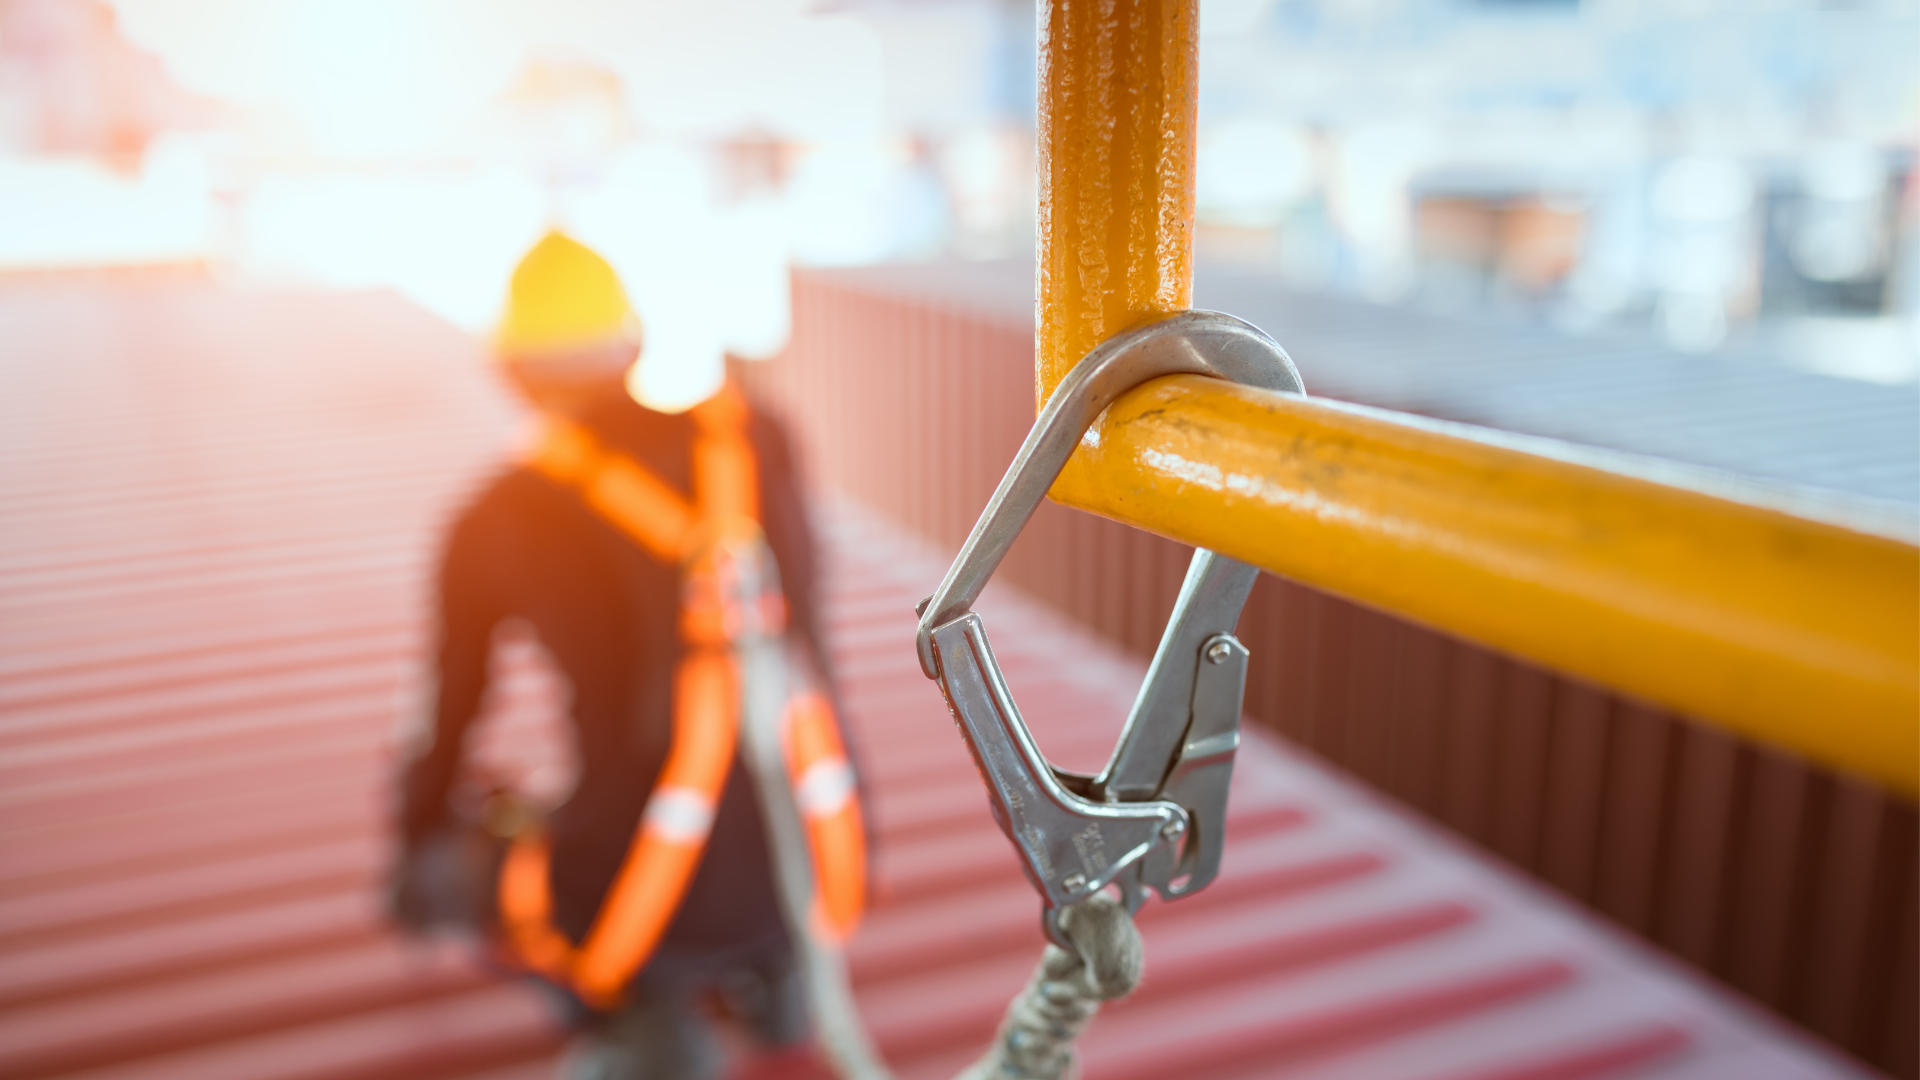
Roof harnesses are essential fall safety systems designed to protect workers from falls and ensure their safety while working at heights. These harnesses consist of various components, including a harness vest, lanyards, and anchor points.
They are specifically designed to distribute the impact of a fall evenly across the body, minimizing the risk of injury. Different types of roof harnesses are available, such as full-body harnesses, positioning harnesses, and suspension harnesses, each serving a specific purpose based on the nature of the job.
The Benefits of Roof Harnesses
- Preventing falls and reducing the risk of accidents: Roof harnesses act as a crucial line of defense, preventing falls and reducing the severity of accidents. By securely anchoring workers to a stable structure, they provide a reliable means of protection, especially when combined with complementary fall protection measures.
- Ensuring worker safety and compliance with safety regulations: Worker safety should always be a top priority. Roof harnesses not only keep workers safe but also ensure compliance with safety regulations, such as those set forth by the Occupational Safety and Health Administration (OSHA). Compliance is crucial to avoid penalties and maintain a safe working environment.
- Enhancing productivity and efficiency on rooftop projects: When workers feel safe and confident, productivity levels soar. Roof harnesses instill a sense of security, allowing workers to focus on their tasks without unnecessary distractions or fear of falling. By minimizing the risk of accidents, projects can be completed more efficiently and within the designated timeframe.
Selecting the Right Roof Harness
Choosing the appropriate roof harness or personal fall arrest system is paramount to ensure worker safety. Factors such as job requirements, hazards, proper fit, adjustability, and additional safety features must be considered.
Assessing the specific needs of the project and understanding the compatibility of the harness with the work environment is crucial in making an informed decision. Moreover, certifications such as those from ANSI (American National Standards Institute) or CSA (Canadian Standards Association) provide assurance of optimal safety standards.
Proper Use and Maintenance of Roof Harnesses
- Training workers on how to properly wear and use roof harnesses: Proper training is essential to ensure that workers understand how to wear and utilize roof harnesses correctly. Training programs should cover topics such as donning the harness, adjusting the straps for a snug fit, connecting the lanyards to appropriate anchor points, and inspecting the safety equipment before each use.
- Inspecting and maintaining harnesses for optimal performance: Regular inspection and maintenance of roof harnesses are crucial to identify any wear, tear, or damage. Visual inspections should be performed before each use, checking for frayed straps, loose stitching, or worn-out buckles. Additionally, a comprehensive inspection should be conducted periodically, including load testing and thorough documentation of inspections and repairs.
- Understanding when and how to retire and replace old or damaged harnesses: Harnesses have a limited lifespan, and it is vital to know when to retire and replace them. If a harness has been subjected to a fall or exhibits signs of damage, it should be immediately taken out of service. Adhering to manufacturer’s instructions and recommendations and keeping a detailed record of harness usage and maintenance will assist in determining when replacements are necessary.
Complementary Equipment and Fall Protection Measures
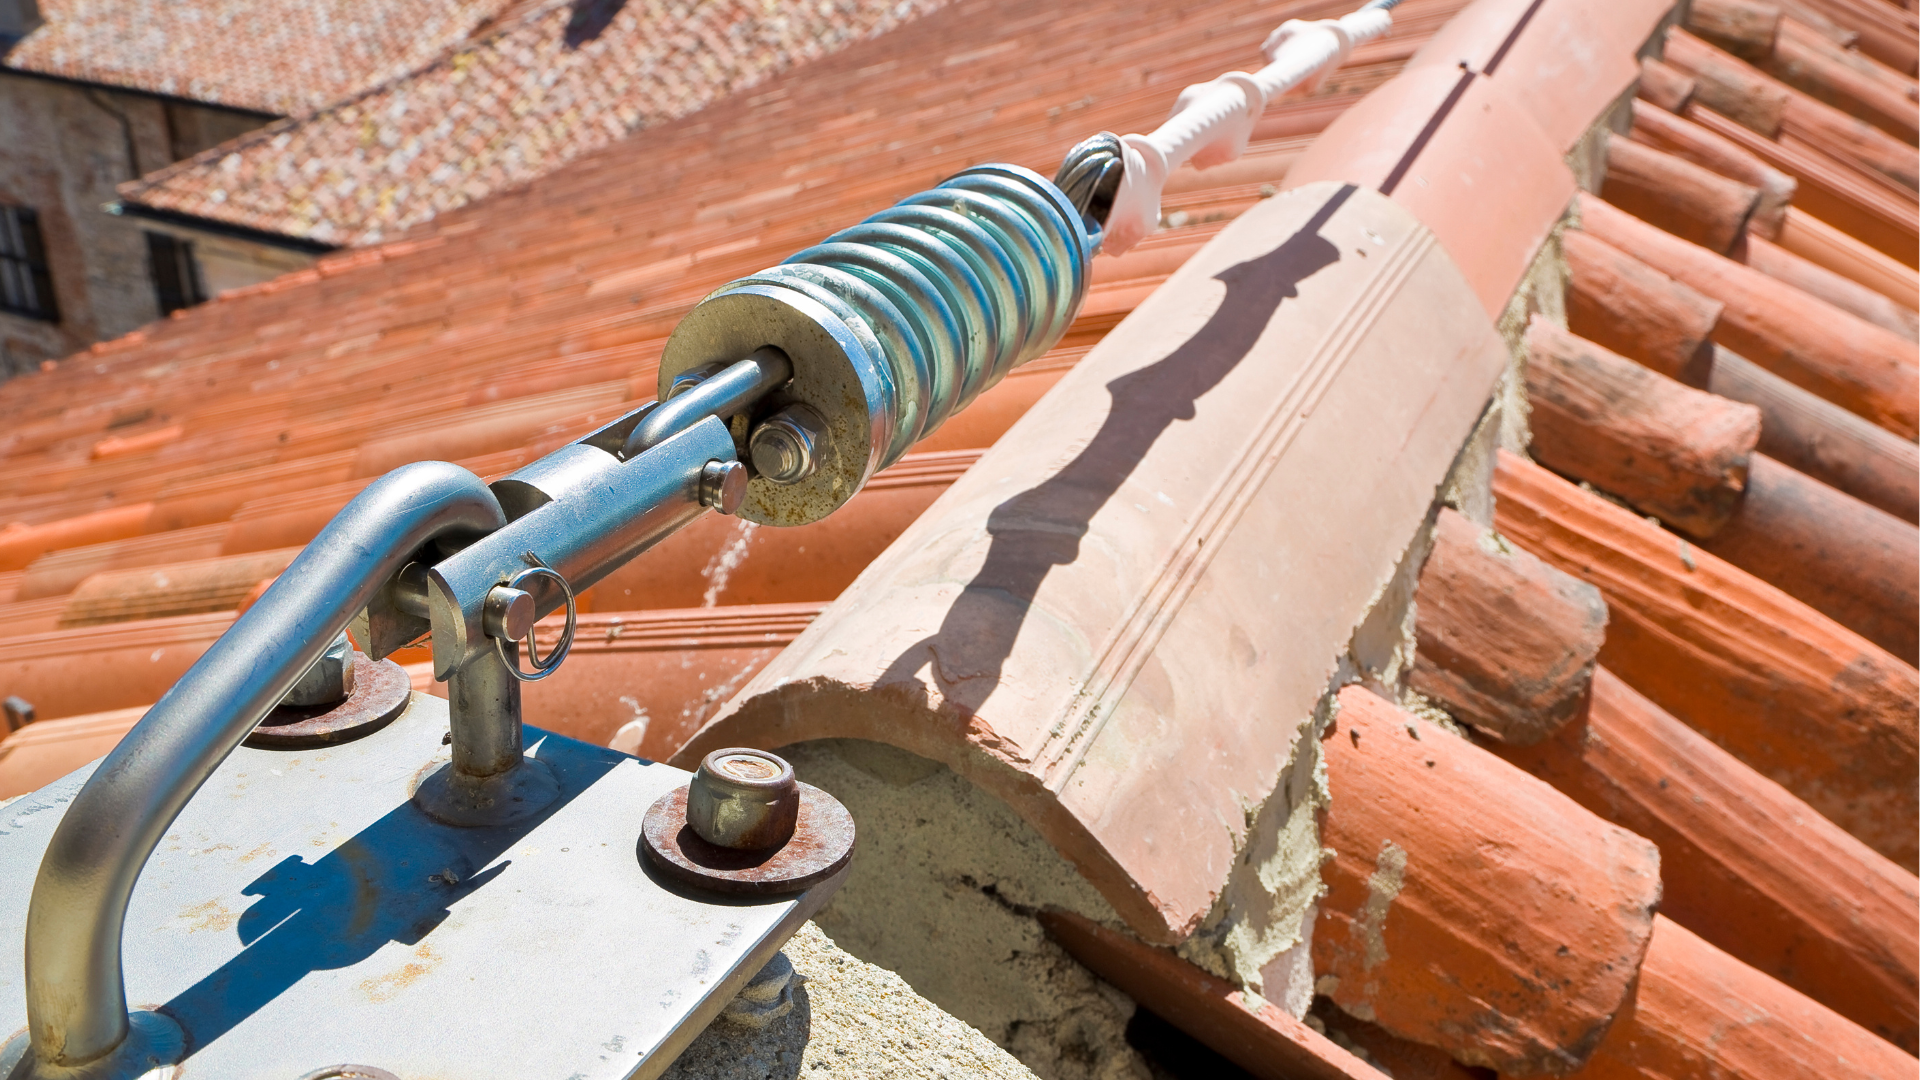
- Discussing additional equipment that can enhance roof safety: In addition to roof harnesses, various equipment can enhance safety on rooftops. Lanyards, for instance, provide an extra level of protection by restricting workers’ movement within safe limits. Anchor points, lifelines, and guardrails are other examples of equipment that can supplement the effectiveness of roof harnesses.
- Exploring collective fall protection systems for larger work areas: Collective fall protection systems are ideal for larger work areas where multiple workers are involved. Safety measures such as safety nets, guardrails, and warning lines provide collective protection, reducing the reliance on individual harnesses.
- Integrating safety protocols and best practices alongside roof harnesses: While roof harnesses are vital, they are only one aspect of a comprehensive safety program. Establishing clear safety protocols, implementing best practices, and fostering a safety culture among workers are equally important. Regular safety meetings, toolbox talks, and hazard assessments can further enhance worker awareness and reduce accidents.
Regulatory Standards and Compliance
- Overview of relevant safety regulations and standards: To maintain a safe working environment, it is crucial to understand and comply with safety regulations and standards set by organizations such as OSHA. Familiarize yourself with the requirements, including fall protection guidelines, inspections, training, and record-keeping, to ensure compliance and avoid penalties.
- Importance of compliance to avoid penalties and ensure worker safety: Compliance with safety regulations not only prevents penalties but also prioritizes worker safety. By adhering to the guidelines and regulations, employers demonstrate their commitment to providing a safe workplace, fostering employee well-being, and reducing the risk of accidents.
- Resources for staying up-to-date with industry standards and regulations: To stay current with evolving safety standards and regulations, utilize resources such as government websites, industry associations, and safety training organizations. Regularly check for updates and changes to ensure your practices align with the latest safety requirements.
Training and Education on Roof Harnesses
- The significance of proper training for workers: Proper training is the cornerstone of a safe work environment. Providing workers with comprehensive training on roof harnesses, including theoretical knowledge and practical application, ensures they are equipped to use the equipment effectively and confidently.
- Available training programs and resources for roof harness use: Numerous training programs and resources are available to educate workers on roof harness usage. These programs cover topics such as equipment selection, inspection, proper donning and doffing, fall arrest techniques, and rescue procedures. Seek out reputable training providers and choose programs that align with your specific needs.
- Incorporating ongoing education and refresher courses for improved safety: Safety education is an ongoing process, and refresher courses play a vital role in reinforcing knowledge and addressing any gaps. Regularly schedule follow-up training sessions and provide opportunities for workers to refresh their skills, stay updated with best practices, and familiarize themselves with any new equipment or regulations.
3 Best Roof Safety Harnesses
Ensuring worker safety is of utmost importance in any roofing project, and selecting the right roof safety harness is crucial for optimal protection. Here, we present three top-notch roof safety harnesses that have gained recognition for their quality, durability, and effectiveness. Let’s explore their features, pros, and cons to help you make an informed decision.
-
Weanas Climbing Half Body Harness
The Weanas Climbing Half Body Harness is a reliable and affordable option for roof safety. This harness is designed to distribute force evenly across the body, minimizing the risk of injury in case of a fall. Key features include:
- Construction: The harness is made from high-strength polyester webbing, ensuring durability and resistance to wear and tear.
- Comfort: It features adjustable straps, leg loops, and waist belt, providing a secure and comfortable fit for a wide range of body sizes.
- Convenience: The quick-release buckles allow for easy on and off, saving time during setup and removal.
- Versatility: The Weanas Climbing Half Body Harness is suitable for various applications, including roofing, climbing, construction, and tree trimming.
Pros
- Affordable option without compromising safety and quality.
- Adjustable design for a customizable fit.
- Suitable for various tasks and industries.
- Easy to put on and take off.
Cons
- Some users find the leg loops to be a bit tight.
- May not be ideal for individuals with larger body sizes.
-
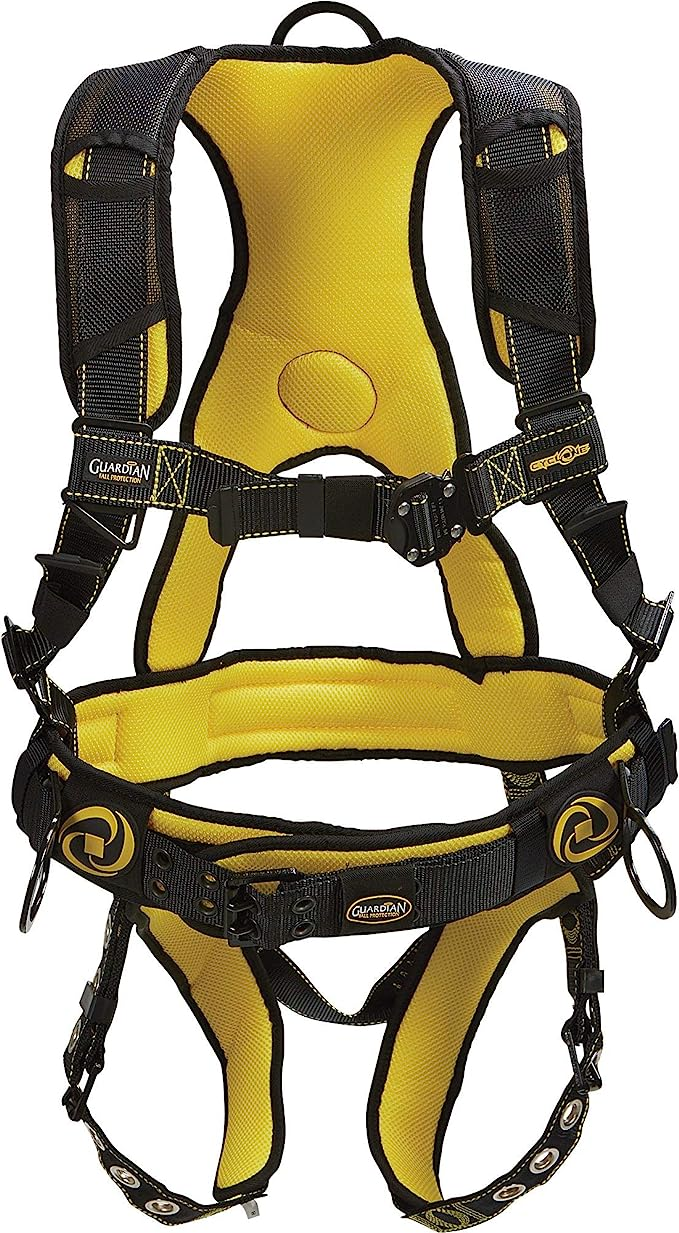
Guardian 21030 Cyclone Construction Harness
The Guardian 21030 Cyclone Construction Harness is a premium full-body harness designed for heavy-duty use in demanding environments. Built with durability and comfort in mind, it offers exceptional protection and reliability. Key features include:
- Construction: The harness is constructed with high-strength polyester webbing, providing excellent resistance against abrasion and wear.
- Comfort: It features ergonomic padding on the shoulders, back, and legs, offering superior comfort during extended periods of use.
- Safety Features: The Guardian 21030 Cyclone Construction Harness includes dorsal D-rings for fall arrest, adjustable leg straps, and pass-through chest and leg buckles for quick and secure adjustments.
- Certification: This harness meets OSHA and ANSI standards, ensuring compliance with safety regulations.
Pros
- Exceptional durability and robust construction.
- Ergonomic padding for enhanced comfort during prolonged use.
- Quick and secure adjustments for a customized fit.
- Meets stringent safety standards.
Cons
- Relatively higher price point compared to other options.
- May not be suitable for individuals with petite body sizes.
-
Palmer Safety Fall Protection Roofing Bucket Kit Full-body Harness
The Palmer Safety Fall Protection Roofing Bucket Kit Full-body Harness is a comprehensive solution that includes not only a high-quality harness but also additional equipment for fall protection. This harness kit is designed specifically for roofing applications, making it an ideal choice for professionals in the roofing industry. Key features include:
- Construction: The harness is constructed from durable and sturdy materials to withstand the rigors of roofing work.
- Comprehensive Kit: In addition to the full-body harness, the kit includes a roof anchor, rope grab, vertical lifeline, and roofing bucket, providing a complete fall protection system for roofing projects.
- Safety Features: The harness features adjustable leg straps, chest strap, and shoulder straps, ensuring a secure and comfortable fit.
- Certification: The Palmer Safety Fall Protection Roofing Bucket Kit meets or exceeds ANSI and OSHA standards, ensuring compliance and optimal safety.
Pros
- All-in-one kit with essential equipment for roofing fall protection.
- Durable construction designed for roofing applications.
- Adjustable straps for a secure and comfortable fit.
- Meets stringent safety standards.
Cons
- Higher price point due to the inclusion of additional equipment.
- May be more specific to roofing applications and less versatile for other tasks.
Secure, Protect, Succeed: Harnessing Safety for Rooftop Projects
When it comes to rooftop projects, safety should never be compromised. In the fast-paced world of construction, where workers face daunting heights and potential risks, the ultimate tool for protecting lives is the roof harness.
By embracing the power of roof harnesses, we secure not only the physical well-being of workers but also the success of the entire project. In conclusion, let us never underestimate the power of a roof harness.
It is not just a piece of equipment; it is a lifeline, a shield, and a symbol of our commitment to protecting those who build our world. Together, let us embark on each rooftop project with confidence, knowing that safety is our anchor and that harnessing it paves the way for success.
Frequently Asked Questions
Can I use a roof harness for other activities besides roofing?
Yes, roof harnesses can be used for various activities that involve working at heights, such as construction, climbing, tree trimming, and maintenance tasks.
How often should I inspect my roof harness for wear and tear?
It is recommended to visually inspect your roof harness before each use and conduct a more thorough inspection periodically, following the manufacturer’s guidelines and industry standards.
Can I replace specific components of my roof harness if they become damaged?
In most cases, individual components of a roof harness can be replaced if they become damaged or worn out. However, it is crucial to ensure that the replacement parts are compatible with the original harness and meet the required safety standards.
Are there weight restrictions for using a roof harness?
Yes, roof harnesses typically have weight restrictions specified by the manufacturer. It is essential to choose a harness that can accommodate the weight of the user and any additional equipment they may be carrying on the roof safely.
Can I reuse a roof harness after a fall?
No, a roof harness should never be reused after a fall. Even if there are no visible signs of damage, the integrity of the harness may have been compromised, and it should be replaced immediately.